Follow Me On Social Media!

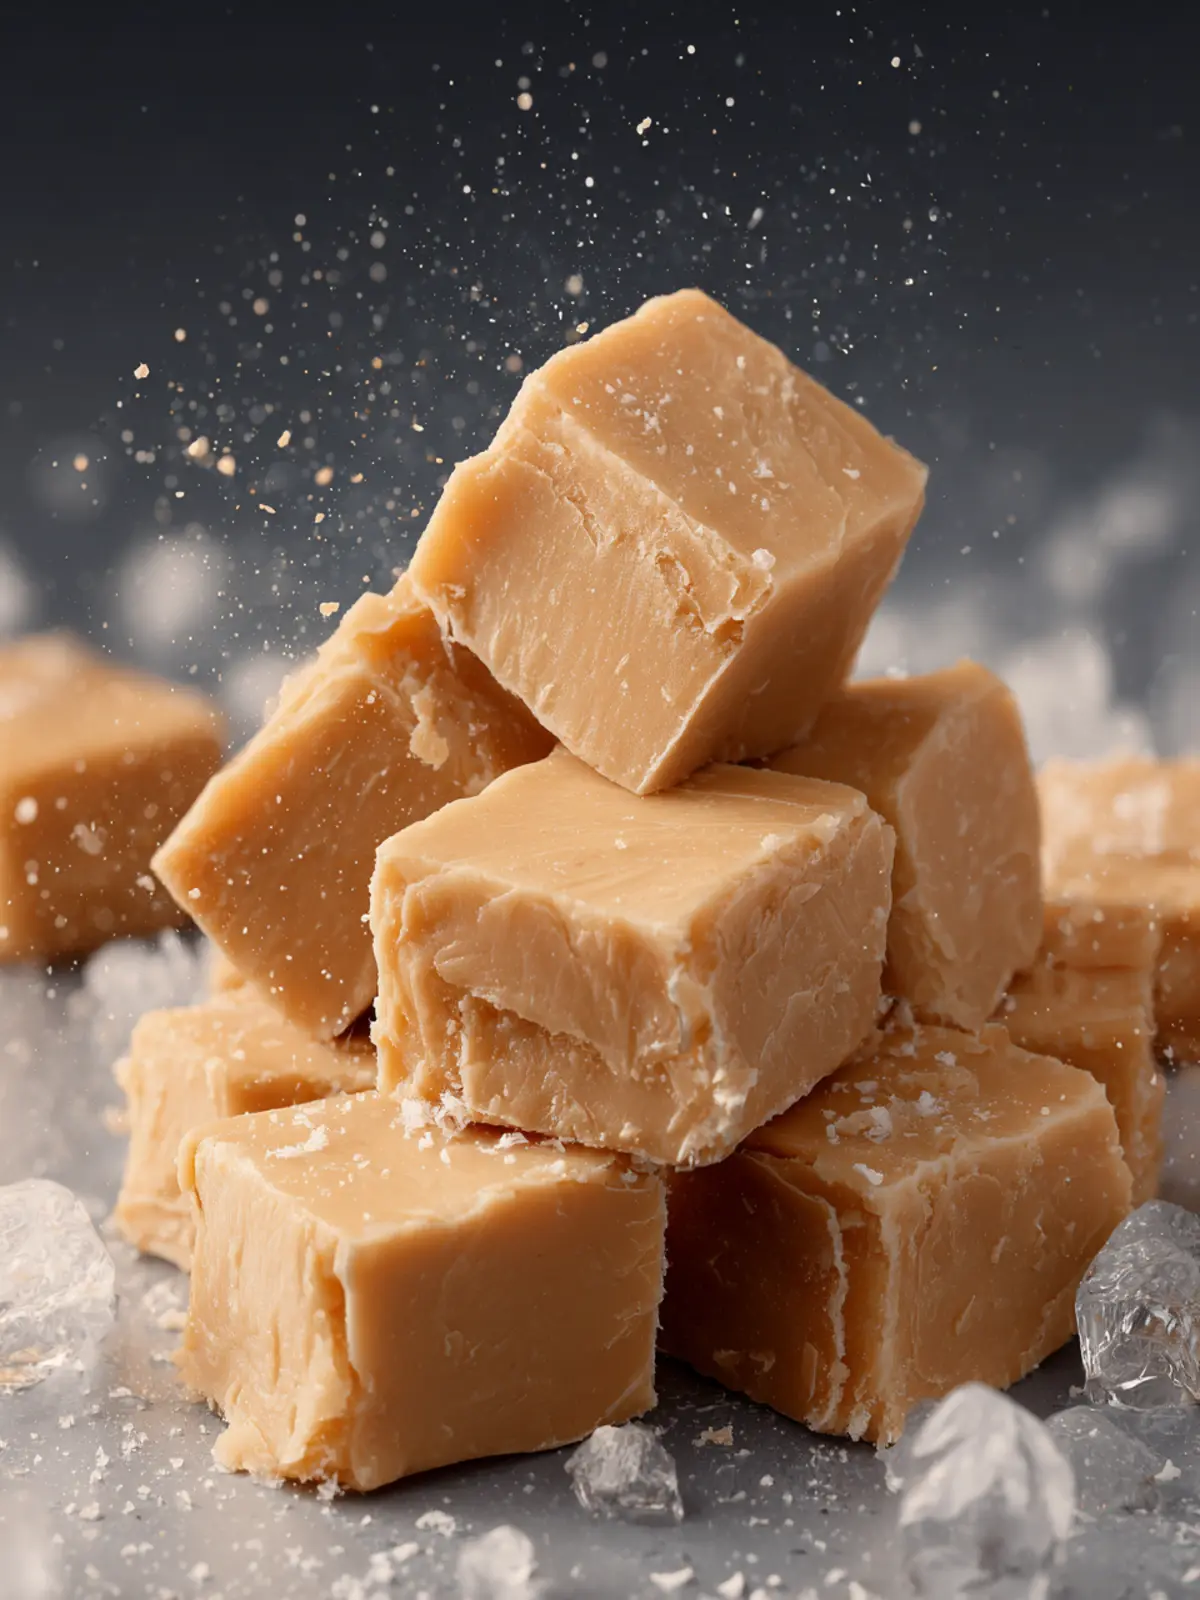
Vanilla Fudge Bliss: Indulge in Creamy Homemade Goodness
Introduction to Vanilla Fudge
There’s something undeniably special about vanilla fudge—a sweet creation that transcends generations and brings a wave of nostalgia with every bite. Picture a cozy kitchen, the aroma of warm vanilla wafting through the air, inviting all to gather around the countertop. As kids, those moments often meant waiting eagerly for a piece of that glossy, melt-in-your-mouth fudge to cool, anticipating its rich sweetness.
What makes vanilla fudge a cherished classic in kitchens worldwide? The answer lies in its simplicity and versatility. This timeless treat combines just a handful of ingredients, like sugar, butter, and cream, yet creates a candy that pleases the palate and warms the heart. It serves as a canvas for many flavor profiles, while its creamy texture captures the essence of comfort food. Sharing fudge not only whispers love and care but also often becomes a cherished tradition. Whether it’s a festive gathering, a homemade gift, or a late-night snack, fudge consistently finds its way into special moments that forge lasting memories.
Why is Vanilla Fudge a Timeless Treat?
- Ease of Preparation: With its straightforward recipe, making vanilla fudge requires minimal culinary skills, making it accessible for everyone.
- Customizable: While the classic version shines with its pure vanilla flavor, feel free to experiment—add nuts, chocolate swirls, or even a sprinkle of sea salt to elevate the taste.
- Ideal Gift: Who wouldn’t appreciate a box of homemade fudge? It’s perfect for holidays, birthdays, or just because. A thoughtful gift that shows you care can be crafted in just minutes.
- Lasting Shelf Life: When stored correctly, vanilla fudge can last for weeks, making it an excellent choice for those who want to indulge in a sweet treat over time.
So, whether you’re rekindling a family tradition or discovering the wonders of fudge for the first time, there’s no denying its simple charm. Let’s dive into making your very own batch of creamy vanilla fudge that may soon earn a spot in your heart—and your recipe book!
Key Ingredients for Vanilla Fudge
Crafting the perfect vanilla fudge is a delightful journey that starts with the right ingredients. Each element plays a vital role in creating that rich, creamy texture and sweet, nostalgic taste that makes fudge a timeless treat.
-
Sweetened Condensed Milk: This is the star ingredient that gives vanilla fudge its creamy consistency. It not only sweetens but also helps bind the mixture together, making it easy to cut into perfect squares. Opting for full-fat sweetened condensed milk results in a more decadent flavor.
-
Butter: Using unsalted butter enhances the richness of your fudge. You’ll want to melt it alongside the sweetened condensed milk, creating a smooth blend that’s essential for achieving that melt-in-your-mouth texture.
-
White Chocolate: A mix of high-quality white chocolate adds sweetness without being overpowering. It melts down beautifully and contributes to the fudge’s signature creamy taste.
-
Vanilla Extract: To elevate flavor, pure vanilla extract is a must. It brings a warm, aromatic note that complements the sweetness without overshadowing it.
-
Salt: Just a pinch of salt balances out the sweetness and enhances the overall flavor profile of your vanilla fudge.
Why You’ll Love This Vanilla Fudge
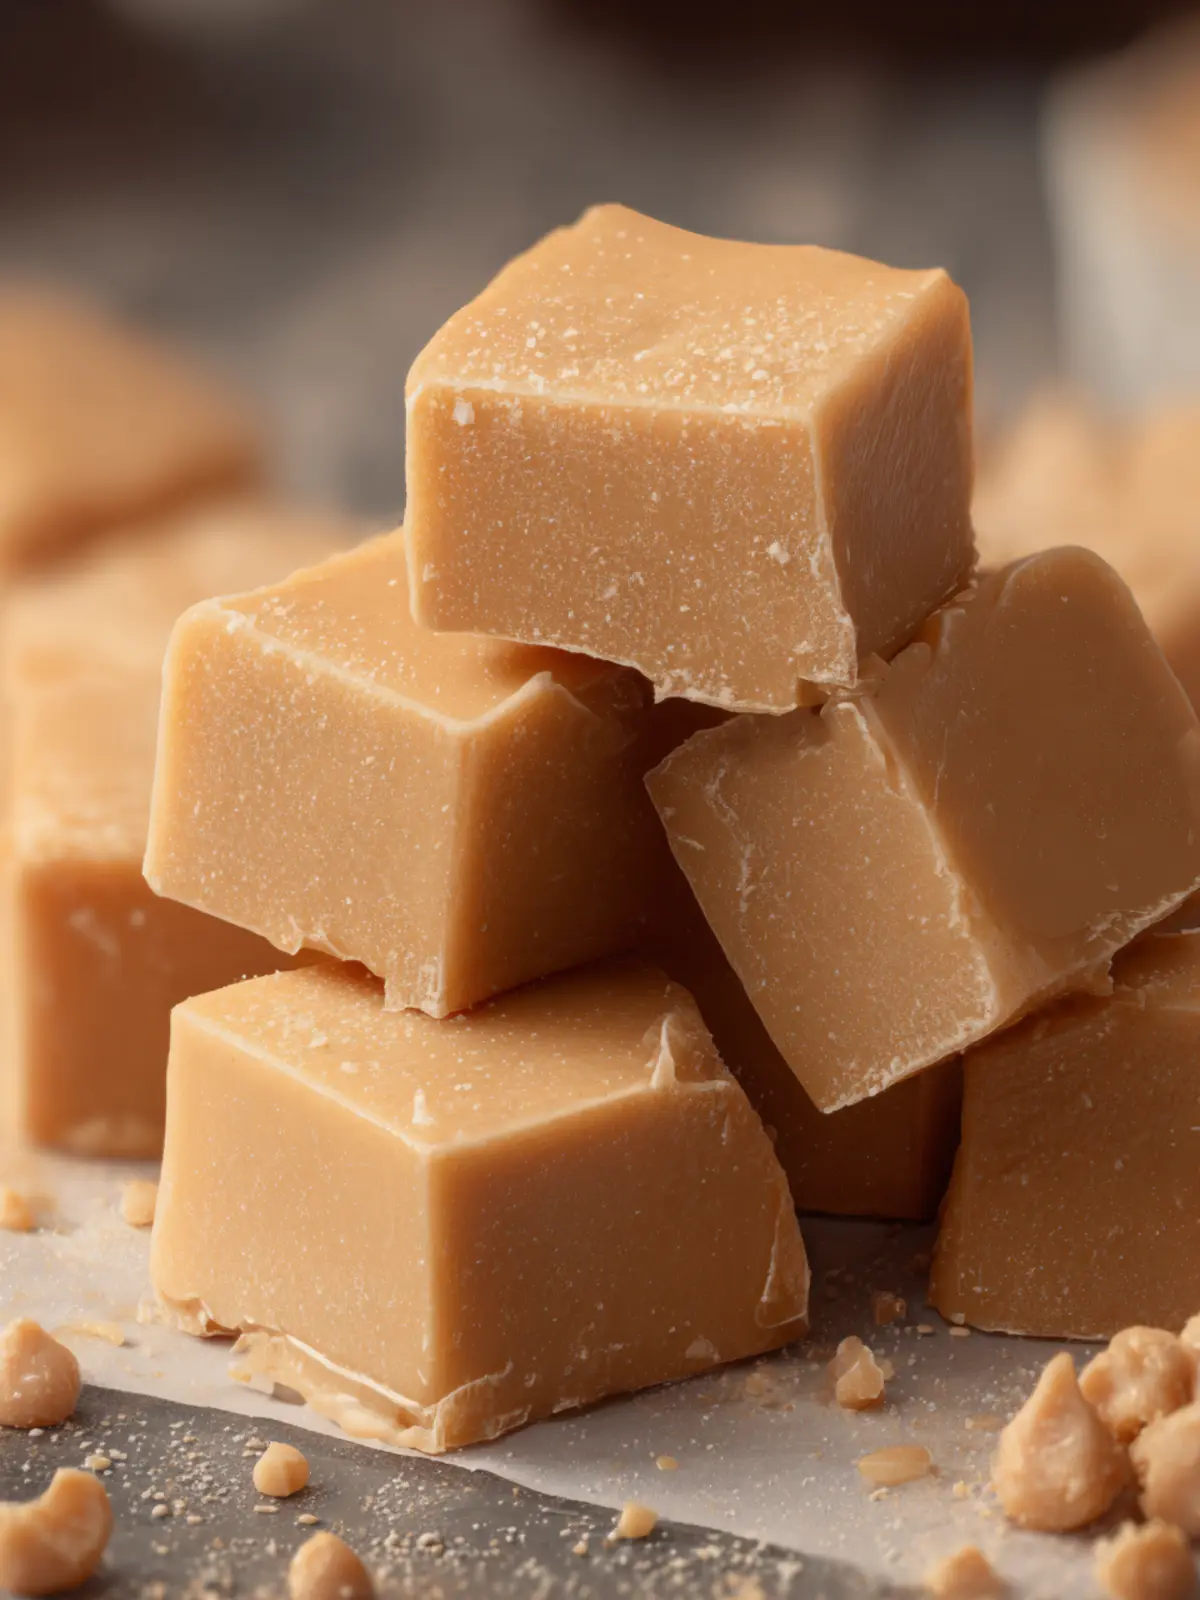
When you first taste this vanilla fudge, you’ll realize that it embodies everything sweet and comforting about the classics while maintaining a delightful twist. Imagine biting into a piece that practically melts in your mouth, infused with the warm essence of real vanilla—it’s not just a treat; it’s an experience that takes you back to childhood.
The Perfect Balance of Sweetness
This vanilla fudge strikes the perfect balance between creamy and sweet, making it incredibly addictive. With just the right amount of sugar, it satisfies your sweet tooth without overwhelming your palate. It’s the kind of treat that feels indulgent yet familiar, making it perfect for everyday cravings or special occasions.
Simple Yet Luxurious Ingredients
One of the best aspects of this vanilla fudge is how it elevates simple ingredients into something exceptional.
- Sweetened Condensed Milk: This gives the fudge its rich and creamy texture while adding a touch of nostalgia. Who doesn’t remember being a kid and sneaking spoonfuls straight from the can?
- White Chocolate: For sweetness and a smooth, luxurious finish. The high cocoa butter content makes the fudge wonderfully creamy.
- Butter: Enhances the richness and binds everything together, contributing to that melt-in-your-mouth quality we all love.
Ideal for Sharing (or Not!)
Whether you pack it up for gifts, serve it at a gathering, or keep it all for yourself, this vanilla fudge is versatile enough for any occasion. The moment you share it with friends or family, get ready for the compliments to roll in! Wouldn’t it be wonderful to have that kind of impact with just one treat?
This fudge isn’t just a dessert; it’s a way to connect with others and create lasting memories. Once you make it, you’ll find yourself reaching for a piece time and again—trust me, you’ll love every bite!
Variations of Vanilla Fudge
Vanilla fudge is one of those timeless treats that can be deliciously adapted to fit various tastes and occasions. It’s like a canvas waiting for your favorite flavors to splash onto it, making each batch a unique experience.
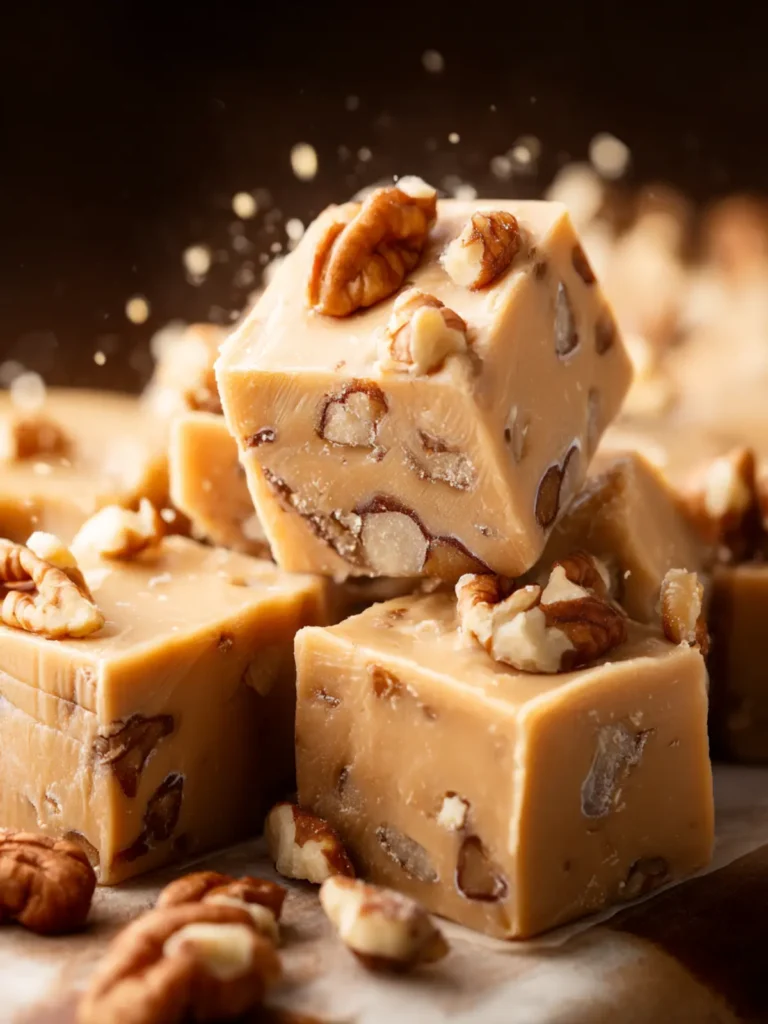
Nutty Twist
If you want to add crunch and texture, consider incorporating nuts into your vanilla fudge. Chopped pecans, walnuts, or even pistachios not only enhance the flavor but also provide a delightful contrast to the creaminess of the fudge. Lightly toasting the nuts beforehand boosts their flavor—it’s a simple step that makes a huge difference.
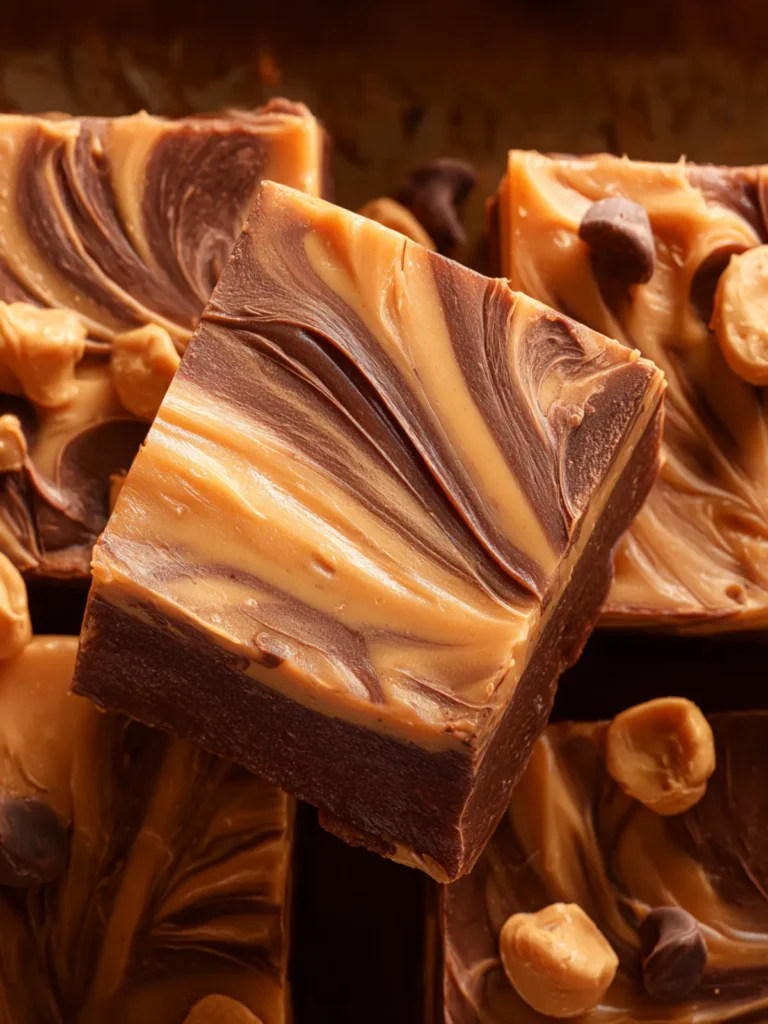
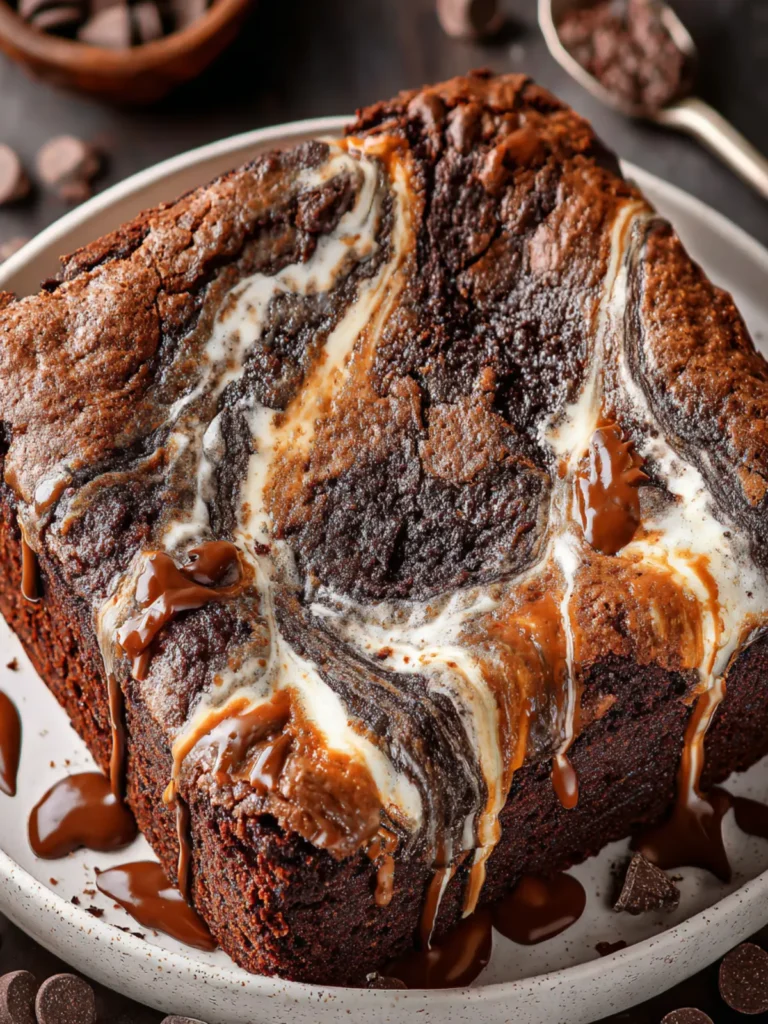
Chocolate Drizzle
For those who can’t resist the allure of chocolate, a chocolate drizzle can elevate your vanilla fudge to another level. Melt some chocolate chips and drizzle it over the set fudge before cutting it into squares. You’ll achieve a stunning visual appeal along with that irresistible cocoa touch.
Flavor Infusions
Why stop at vanilla? You can experiment with adding other flavors like almond extract or coconut essence for a twist on the classic recipe. Just a drop (or two) can create a new experience with every bite without overwhelming the original vanilla taste.
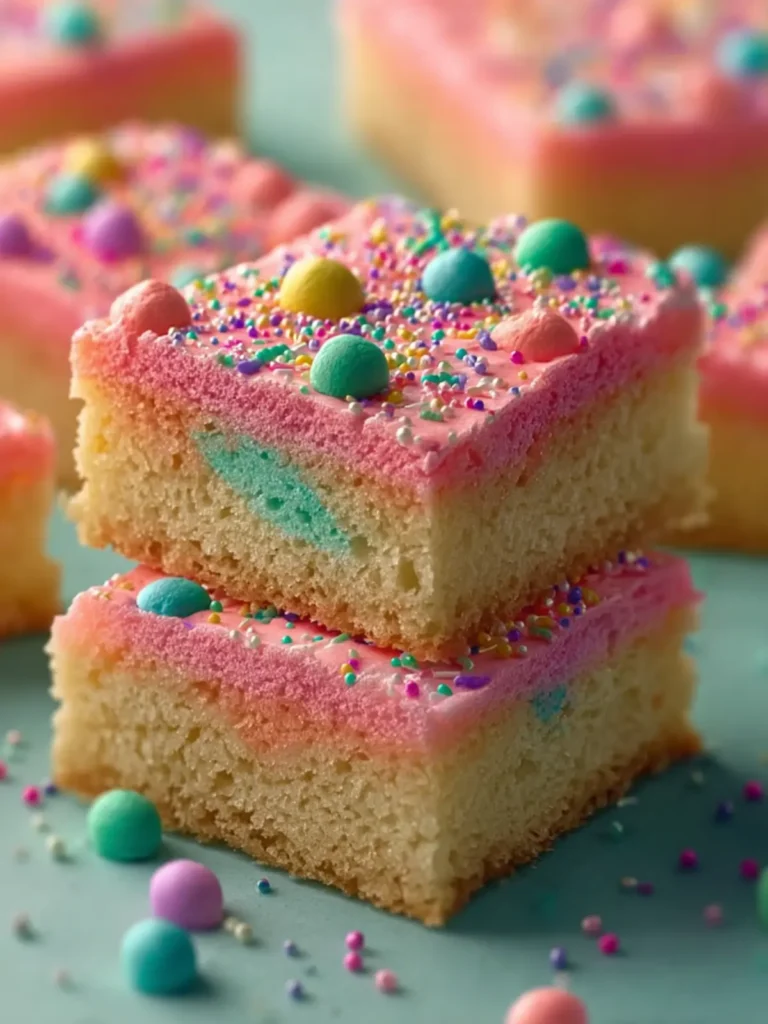
Colorful Add-ins
Adding colorful ingredients, like dried fruits or sprinkles, can transform your vanilla fudge into a festive treat perfect for holidays or celebrations. Think dried cranberries for a pop of tartness or rainbow sprinkles for a fun touch—your choices are limitless!
This array of variations ensures your vanilla fudge remains a beloved favorite while exploring new flavors and textures. What will you create?
Cooking Tips and Notes for Vanilla Fudge
Creating the perfect vanilla fudge at home can be a delightful and rewarding experience. It’s all about the little details that can elevate your fudge from good to outstanding.
Pay Attention to Temperature
Temperature control is vital when making vanilla fudge. Use a candy thermometer to ensure your mixture reaches the ideal temperature of 240°F (soft ball stage). Going beyond this can lead to a grainy texture, so keep a close eye on it!
Choosing the Right Ingredients
- High-Quality Vanilla Extract: Opt for pure vanilla extract over imitation for rich flavor. The essence of vanilla enhances the overall taste, making every bite indulgent.
- Fresh Ingredients: Always use fresh butter and cream; they make a noticeable difference in flavor and texture.
Mixing Technique
Once your sugar mixture reaches the right temperature, be sure to allow it to cool slightly before adding your other ingredients. This prevents the fudge from being overly runny. Gently fold in the vanilla and butter; avoid vigorous stirring as this may introduce unwanted air bubbles.
Storage Tips
Store your vanilla fudge in an airtight container at room temperature. This helps maintain its creamy texture. If you live in a particularly humid area, refrigeration may be necessary to prevent softening.
By following these tips, you’ll be on your way to creating deliciously creamy vanilla fudge that friends and family will crave. Happy fudge-making!
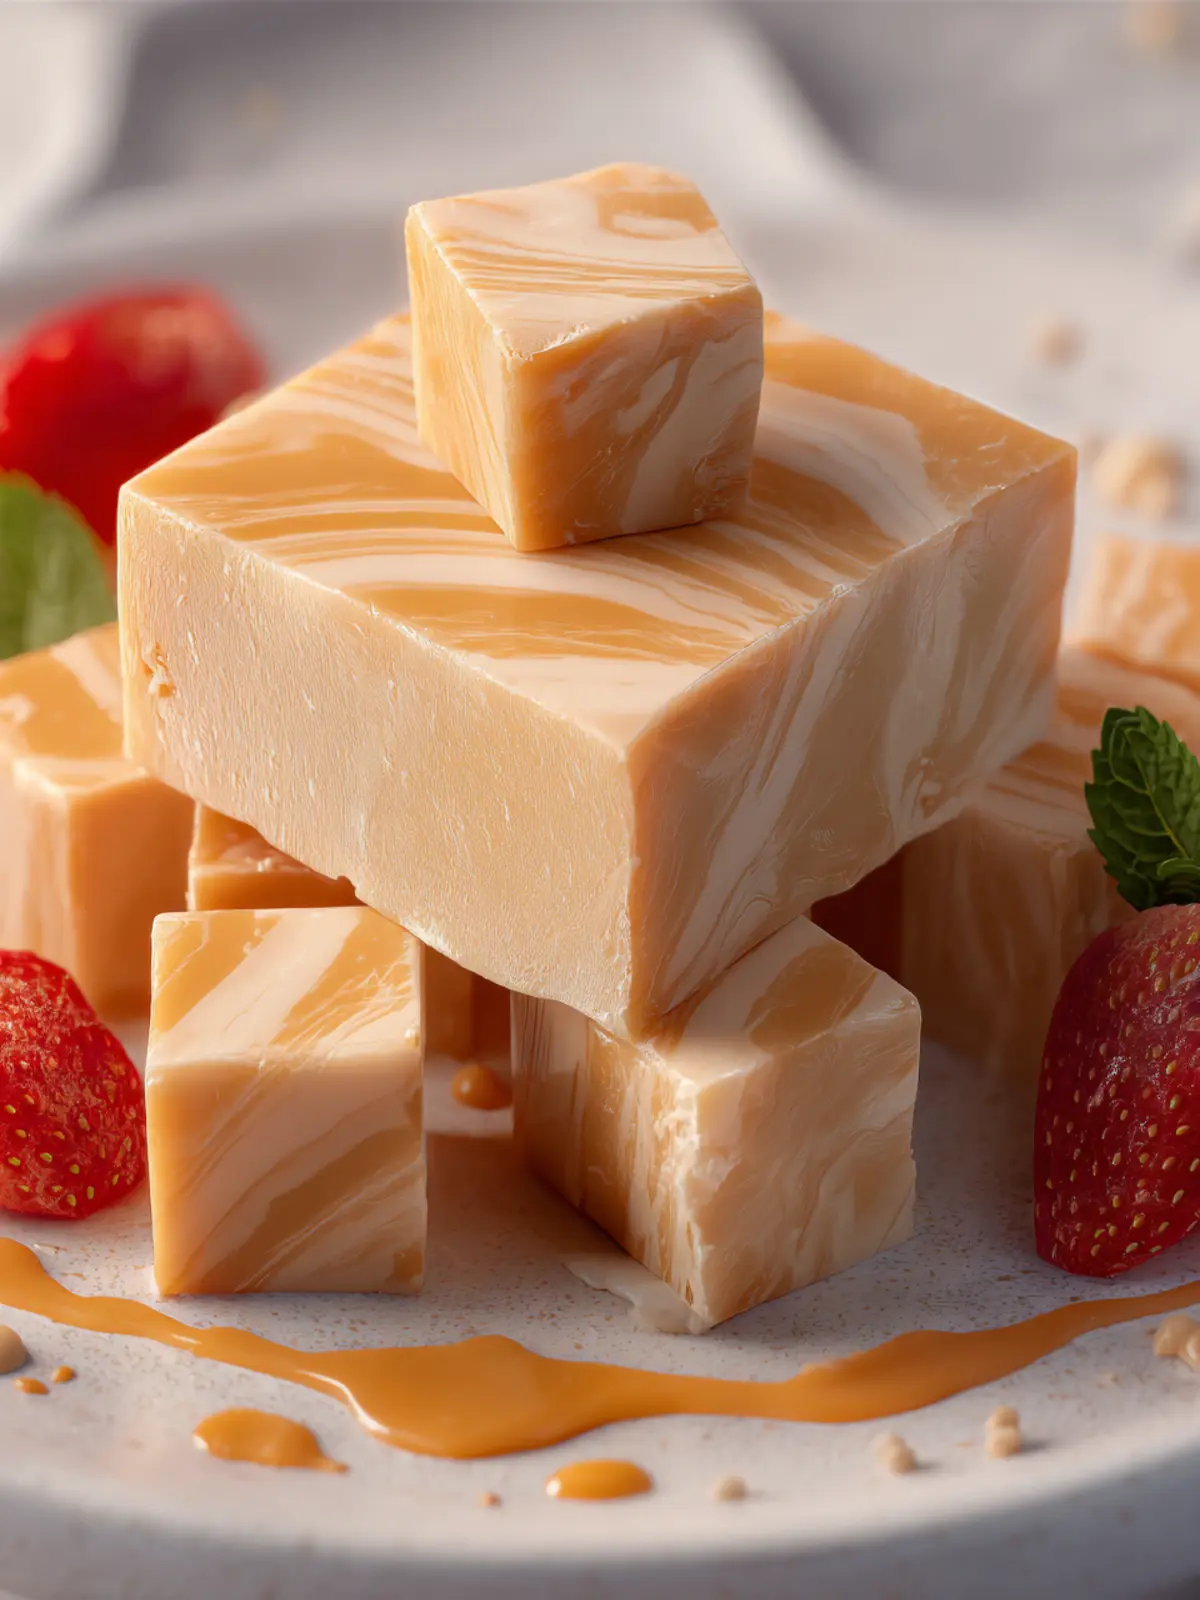
Serving Suggestions for Vanilla Fudge
Crafted with care, vanilla fudge is not just a sweet treat; it’s a versatile delight that can turn any gathering into a special occasion. Start by presenting the fudge in bite-sized squares; this makes it perfect for sharing.
Pairing Ideas
-
Coffee or Tea: There’s nothing quite like a piece of rich vanilla fudge alongside a warm cup of coffee or herbal tea. The fudge enhances the beverage’s flavor, creating a truly satisfying experience.
-
Dessert Platter: Include your fudge on a dessert platter with other sweets like brownies, cookies, or fresh fruit. This colorful assortment not only appeals to the eye but also caters to varying taste preferences.
-
Gift Giving: Cut the fudge into small pieces and place them in decorative boxes or bags for thoughtful gifts. Who wouldn’t enjoy a homemade treat, especially when beautifully packaged?
You’ll find that with a little creativity, vanilla fudge can elevate any occasion and bring moments of joy to those you share it with.
Time Breakdown for Vanilla Fudge
Creating delightful vanilla fudge is not just about following a recipe; it’s a bit of a heartfelt journey through the kitchen. As you embark on this adventure, understanding the time involved can make the process even more enjoyable.
Preparation Time
Preparing for your vanilla fudge takes about 15 minutes. Gather your ingredients and tools, ensuring everything is in easy reach. Trust me, having everything prepped makes pouring that luscious fudge so much smoother.
Cooking Time
The cooking phase is where the magic happens, taking around 20 minutes. During this time, you’ll melt the ingredients together over gentle heat, stirring until everything combines into that rich, creamy mixture we all love. Keep your eye on it; you don’t want to miss the perfect moment for that fudgey goodness to shine!
Cooling Time
After cooking, let your vanilla fudge cool for at least 2 hours before cutting it into pieces. This is crucial for achieving that perfect, melt-in-your-mouth texture. Patience here will reward you with the ultimate fudge experience, transforming the simple ingredients into an irresistible treat.
Nutritional Facts for Vanilla Fudge
Indulging in a piece of vanilla fudge can be a delightful experience. However, understanding its nutritional profile is essential for those mindful of their dietary intake.
Calories
A classic serving of vanilla fudge typically contains about 130-150 calories. While it’s tempting to enjoy more, remember that moderation is key to keeping your snacking guilt-free.
Sugars
Expect around 22-24 grams of sugar per serving. The sweetness can be heavenly, but it’s wise to balance your sugar intake throughout the day to stay within recommended levels.
Fats
Each piece comprises approximately 6-8 grams of fat, primarily from buttery goodness. While fats are essential for your diet, it’s best to savor vanilla fudge as an occasional treat rather than a staple.
Embracing the taste of vanilla fudge can lead to joyful moments, so enjoy it mindfully!
FAQs about Vanilla Fudge
Creating the perfect vanilla fudge can come with a few questions, especially for beginners. Don’t worry; you’re not alone in seeking answers! Here are some frequently asked questions that may help clear up any uncertainties.
How do I know when my fudge has set?
Determining when your vanilla fudge has set is straightforward. After pouring it into your prepared pan, allow it to cool at room temperature. The fudge is ready to slice when it feels firm to the touch and has a smooth surface. Typically, this can take about 2 to 4 hours, depending on your kitchen’s temperature. For best results, you can also place it in the fridge for about an hour to expedite the setting process.
Can I add mix-ins to my vanilla fudge?
Absolutely! Adding mix-ins can elevate your vanilla fudge to a new level. Consider incorporating:
- Chopped nuts (like walnuts or pecans)
- Chocolate chips or chunks
- Dried fruits such as cranberries or apricots
- Crushed candies for a festive twist
When adding mix-ins, be sure not to overload your fudge; a cup or two should do the trick.
What’s the best way to store leftover fudge?
To keep your vanilla fudge fresh, wrap it tightly in plastic wrap or place it in an airtight container. It can be stored at room temperature for up to a week. If you want to prolong its shelf life, you can refrigerate it for up to two weeks. Just remember to allow it to come to room temperature before enjoying for the best flavor!
Feel free to dig into your fudge-making journey and experiment confidently!
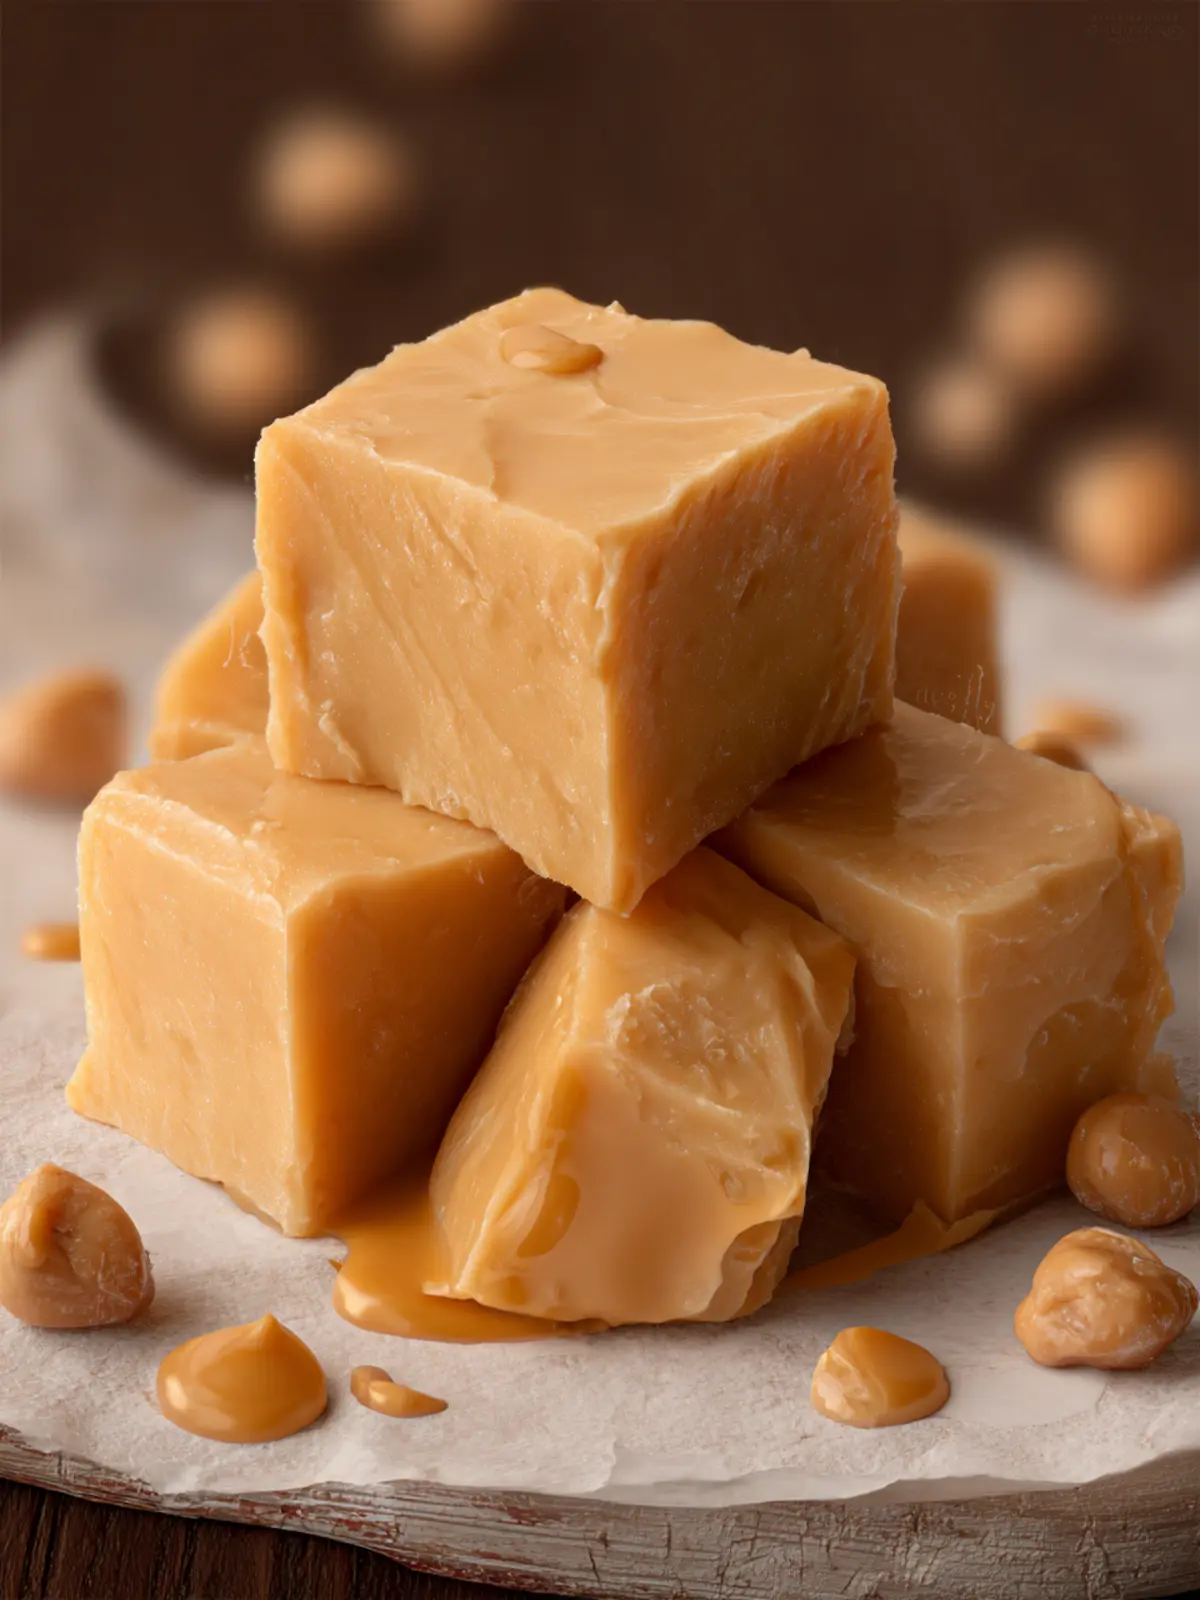
Conclusion on Vanilla Fudge
Creating delightful vanilla fudge at home is not merely a recipe, it’s a heartfelt experience. Whether you plan to gift it or keep it all for yourself, each bite melts in your mouth, leaving a sweet reminder of why homemade treats are unbeatable. Next time you’re in the kitchen, consider this delightful concoction, which only requires a handful of ingredients to transform simple pantry items into delectable joy. With its rich, creamy texture and unmistakable flavor, vanilla fudge can enhance every celebration or simply add a touch of sweetness to your day. Trust me, your taste buds will thank you!
Print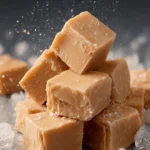
White Chocolate Fudge
- Total Time: 4-6 hours
- Yield: 16 servings 1x
- Diet: Vegetarian
Description
This creamy white chocolate fudge is easy to make and perfect for sharing!
Ingredients
Scale
- 3 cups (594g) granulated sugar
- ¾ cup (170g) unsalted butter
- ⅔ cup (172g) evaporated milk
- 12 oz (340g) white chocolate chips (I used Nestle brand)
- 7 oz marshmallow creme
- ½ tsp salt
- 1 tsp vanilla extract
Instructions
- Line a 8×8 or 9×9 inch square pan with aluminum foil or parchment paper. Set aside.
- In a medium saucepan over medium heat, combine the sugar, butter, and evaporated milk and stir constantly until fully boiling. Attach a candy thermometer to the pan or use an instant reading thermometer.
- Allow the mixture to boil, stirring constantly, for 4-5 minutes or until the candy thermometer reaches 234ºF.
- Remove from the heat and add in the white chocolate chips, marshmallow creme, salt, and vanilla extract. Stir until fully combined.
- Carefully pour the fudge into the prepared pan.
- Allow the fudge to fully set and cool before cutting, 4-6 hours minimum, but I recommend overnight.
Notes
- This fudge can be cut into small squares for serving.
- Experiment with adding nuts or dried fruits for added texture and flavor.
- Prep Time: 15 minutes
- Cook Time: 10 minutes
- Category: Dessert
- Method: Stovetop
- Cuisine: American
Nutrition
- Serving Size: 1 piece
- Calories: 200
- Sugar: 22g
- Sodium: 50mg
- Fat: 9g
- Saturated Fat: 5g
- Unsaturated Fat: 3g
- Trans Fat: 0g
- Carbohydrates: 30g
- Fiber: 0g
- Protein: 1g
- Cholesterol: 20mg