Follow Me On Social Media!

KitchenAid Bread Recipe: Effortlessly Fluffy and Irresistible
Introduction to KitchenAid Bread Recipe
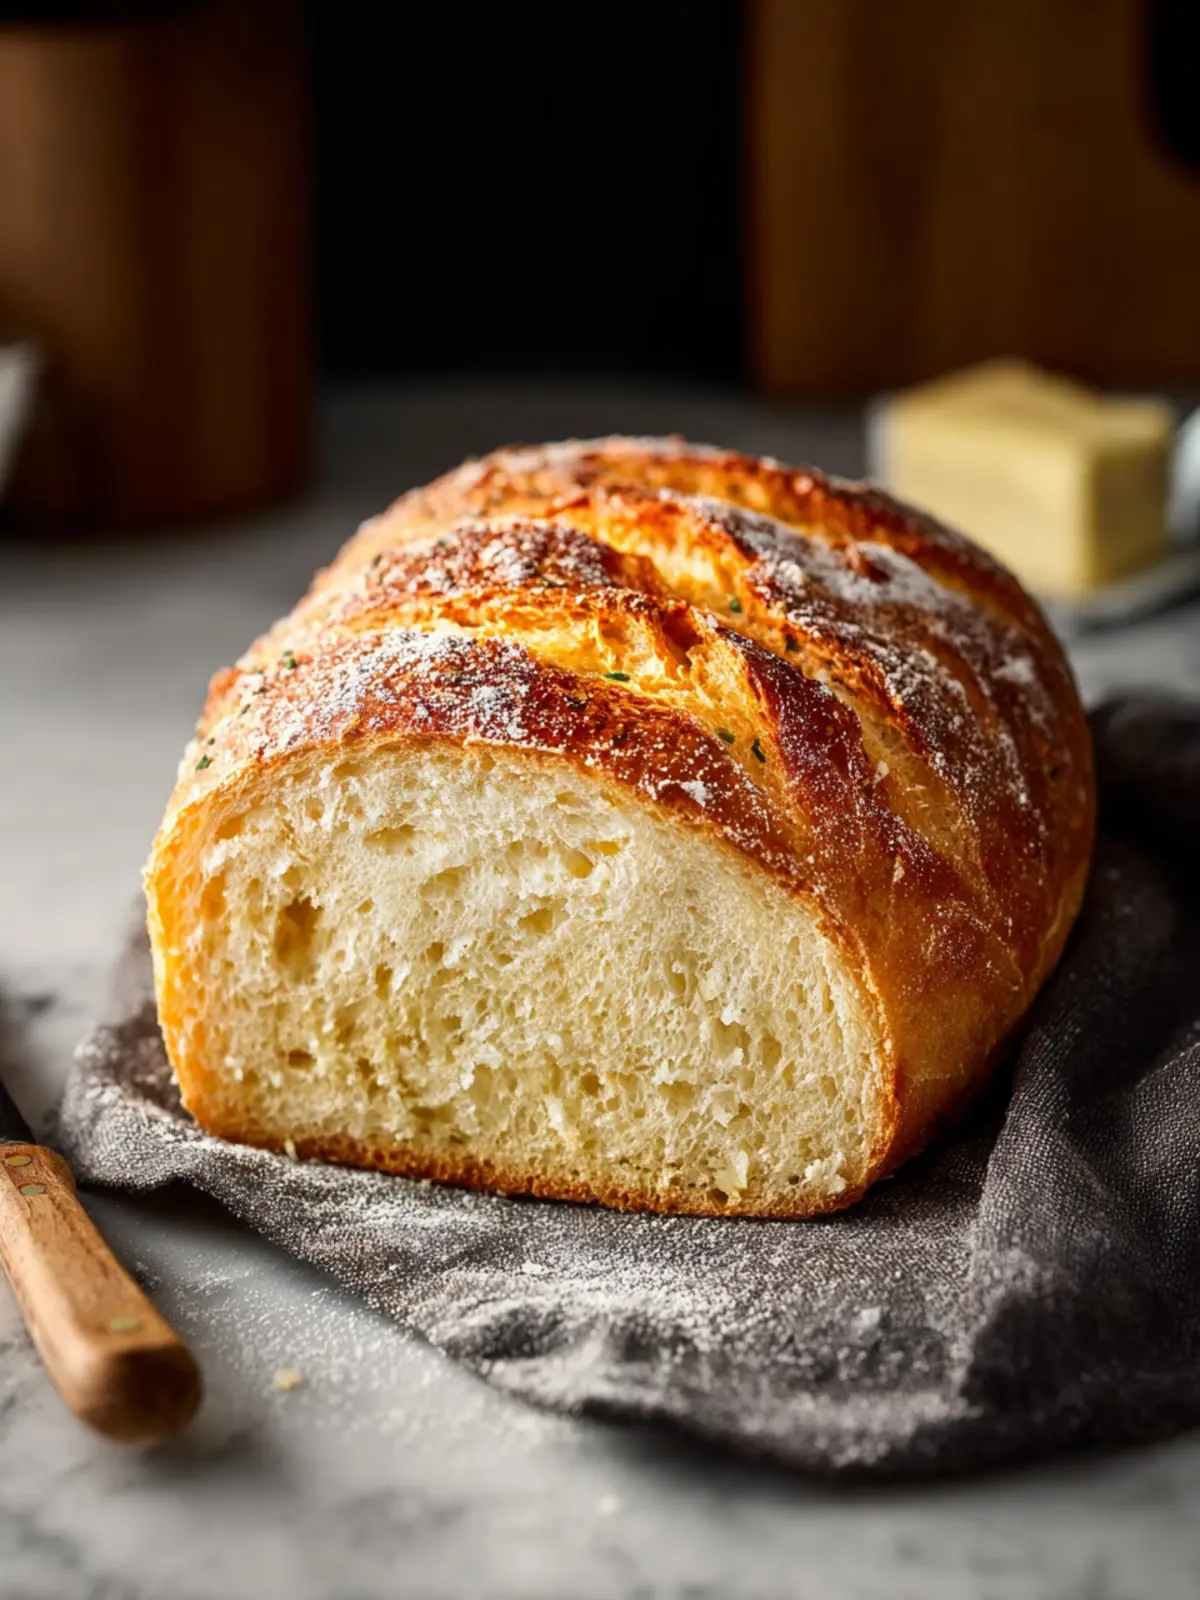
There’s something incredibly satisfying about embracing the art of bread-making, especially with a trusted companion like the KitchenAid Bread Recipe guiding you through each step. Imagine the warm, inviting aroma of freshly baked bread wafting through your home, evoking memories of family gatherings and cozy Sunday mornings. That’s the magic that unfolds when you dust off your KitchenAid mixer, ready to transform simple ingredients into a loaf of perfection.
The joy of baking homemade bread
Baking homemade bread not only allows you to create something delicious but also serves as a rewarding process that combines science with creativity. Using a KitchenAid mixer simplifies the task, making the entire process smoother and more enjoyable, even for those new to baking. You can easily incorporate various flavors and ingredients to create a loaf that speaks to your culinary preferences, whether it’s a savory herb bread or a sweet, fruity variety.
When you bake your own bread, you take the wheel—literally and figuratively! You can experiment with different types of flour, adjust the hydration levels, or add toppings to suit your taste. This flexibility opens up a world of possibilities while also ensuring that you know what’s going into your bread, free from preservatives and additives that often appear in store-bought varieties.
As you embark on this baking journey, remember that patience is key. Allow the dough to rise to perfection, savor the soft texture between your fingers, and relish the sound of the crust crackling as it cools. Not to mention, each loaf you create can become a canvas for family dinners, weekend brunches, or a thoughtful gift for a friend.
Join me as we dive into this KitchenAid Bread Recipe, where every mix, knead, and rise brings you closer to that golden-brown masterpiece waiting to be sliced. Whether it’s your first loaf or one of many, the joy of baking your own bread is a delicious experience worth savoring.
Key Ingredients for KitchenAid Bread Recipe
Baking bread with a KitchenAid mixer is a rewarding experience, where the aroma of fresh bread fills your home and the satisfaction of creating something from scratch brings joy. To achieve the perfect loaf, the right ingredients make all the difference.
-
Flour: I typically use all-purpose flour for my KitchenAid Bread Recipe, as it strikes the right balance between texture and structure. If you’re feeling adventurous, bread flour can enhance the gluten development for a chewier bite.
-
Yeast: Fresh yeast is essential for a good rise. I often opt for instant yeast for its convenience—it doesn’t require proofing and works beautifully in this recipe.
-
Warm Water: Activating the yeast is crucial, so using warm water (around 110°F) helps get the process started. It’s like giving your dough a warm hug.
-
Salt: A touch of salt enhances the flavor of the bread while also regulating yeast activity. It’s a small but mighty ingredient that shouldn’t be overlooked.
-
Sugar: A bit of sugar feeds the yeast and adds a hint of sweetness, completing the flavor profile and resulting in a beautifully golden crust.
-
Fat: Whether it’s olive oil or melted butter, fat enriches the dough, ensuring your bread is tender and moist.
With these simple yet essential ingredients, you’re on your way to creating a delicious loaf that will impress friends and family alike!
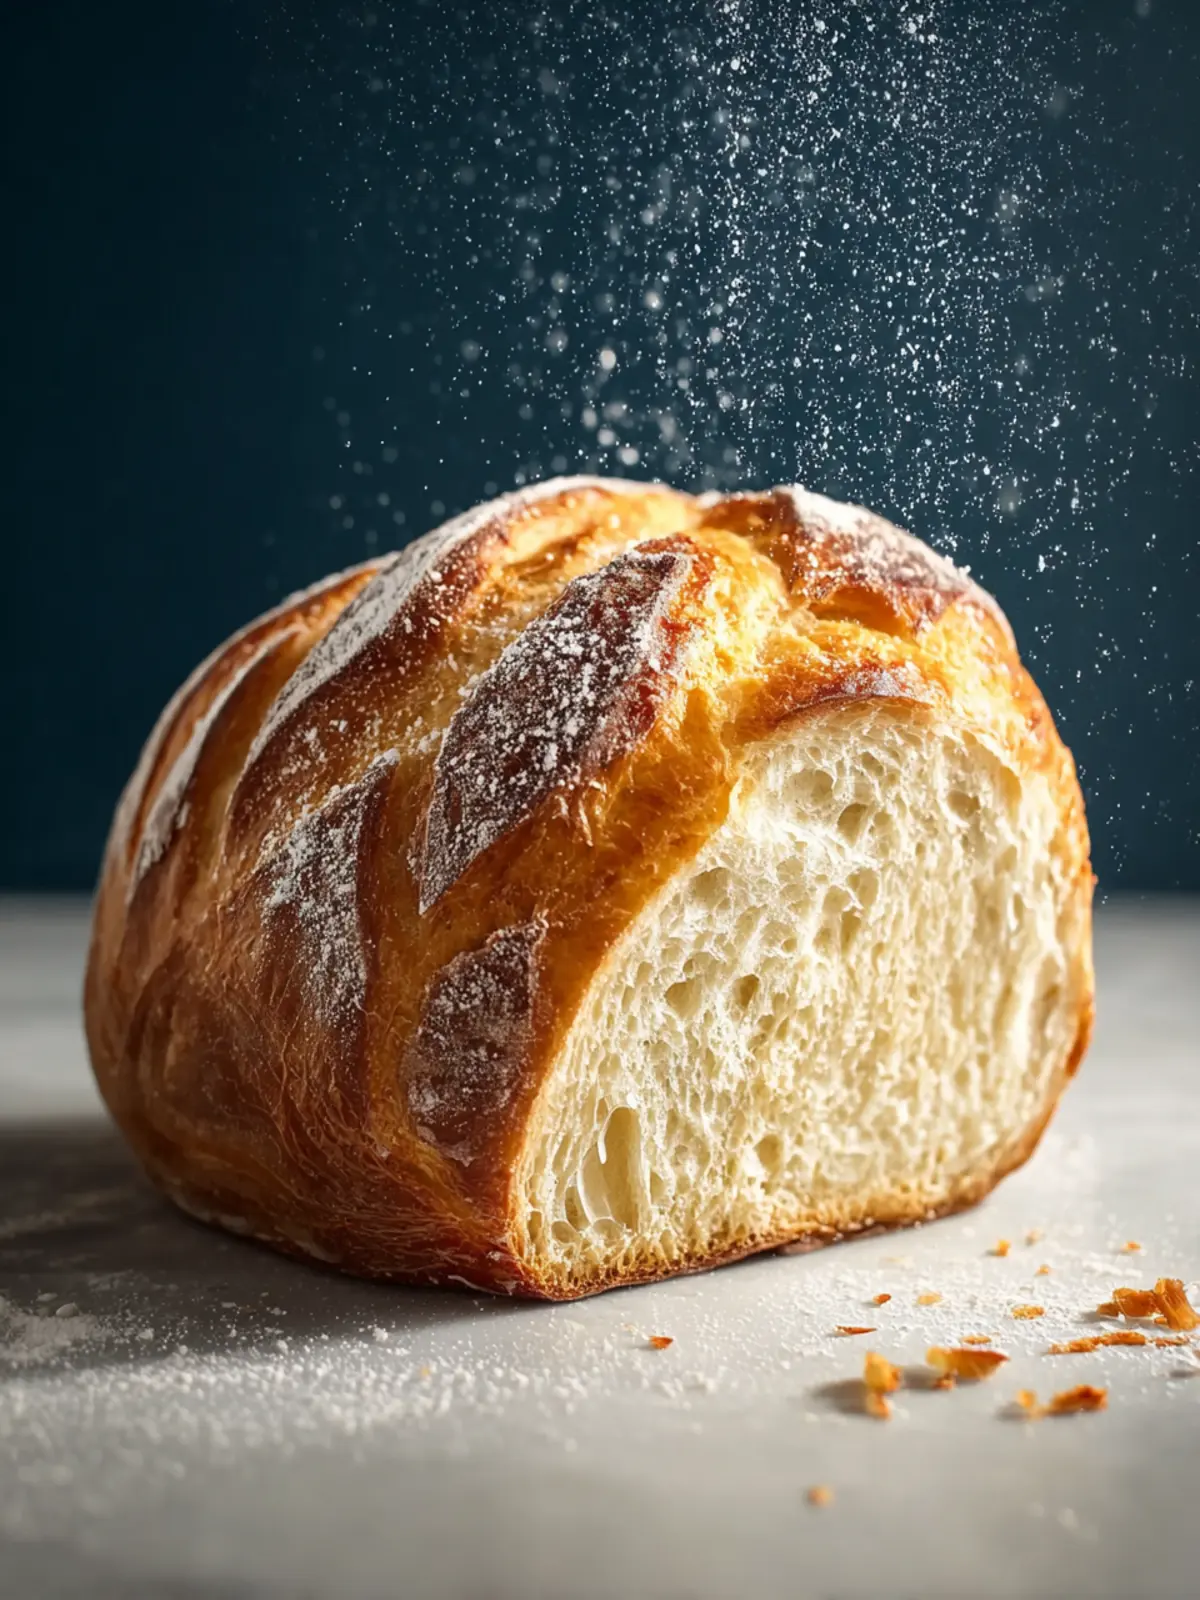
Why You’ll Love This KitchenAid Bread Recipe
When you first mix the ingredients for this KitchenAid Bread Recipe, you’ll feel an undeniable sense of anticipation. Imagine the aroma of freshly baked bread wafting through your kitchen, creating a cozy ambiance that will draw your friends and family in. This recipe simplifies the bread-making process, allowing you to harness the power of your KitchenAid mixer to achieve bakery-quality results at home.
Simple Ingredients for Maximum Flavor
- Flour: All-purpose flour is the backbone of this bread, providing the right texture and structure. It absorbs moisture well and offers versatility, ensuring you can experiment with different flavors.
- Yeast: Fresh yeast is the secret to fluffy bread. It acts as the leavening agent, helping your dough rise beautifully to perfection.
- Water: Warm water activates the yeast, creating the ideal environment for fermentation. It should be lukewarm—too hot will kill the yeast, while too cold won’t activate it.
- Salt: A pinch of salt not only enhances flavor but also strengthens the dough structure, making every bite more delicious.
- Sugar: A bit of sugar helps in browning the crust and provides food for the yeast, leading to a well-risen loaf.
This KitchenAid Bread Recipe pins down the essence of home-baked bread, letting you enjoy the wholesome goodness with each slice. Whether it’s slathered with butter or used for a sandwich, this bread is bound to become a staple in your kitchen.
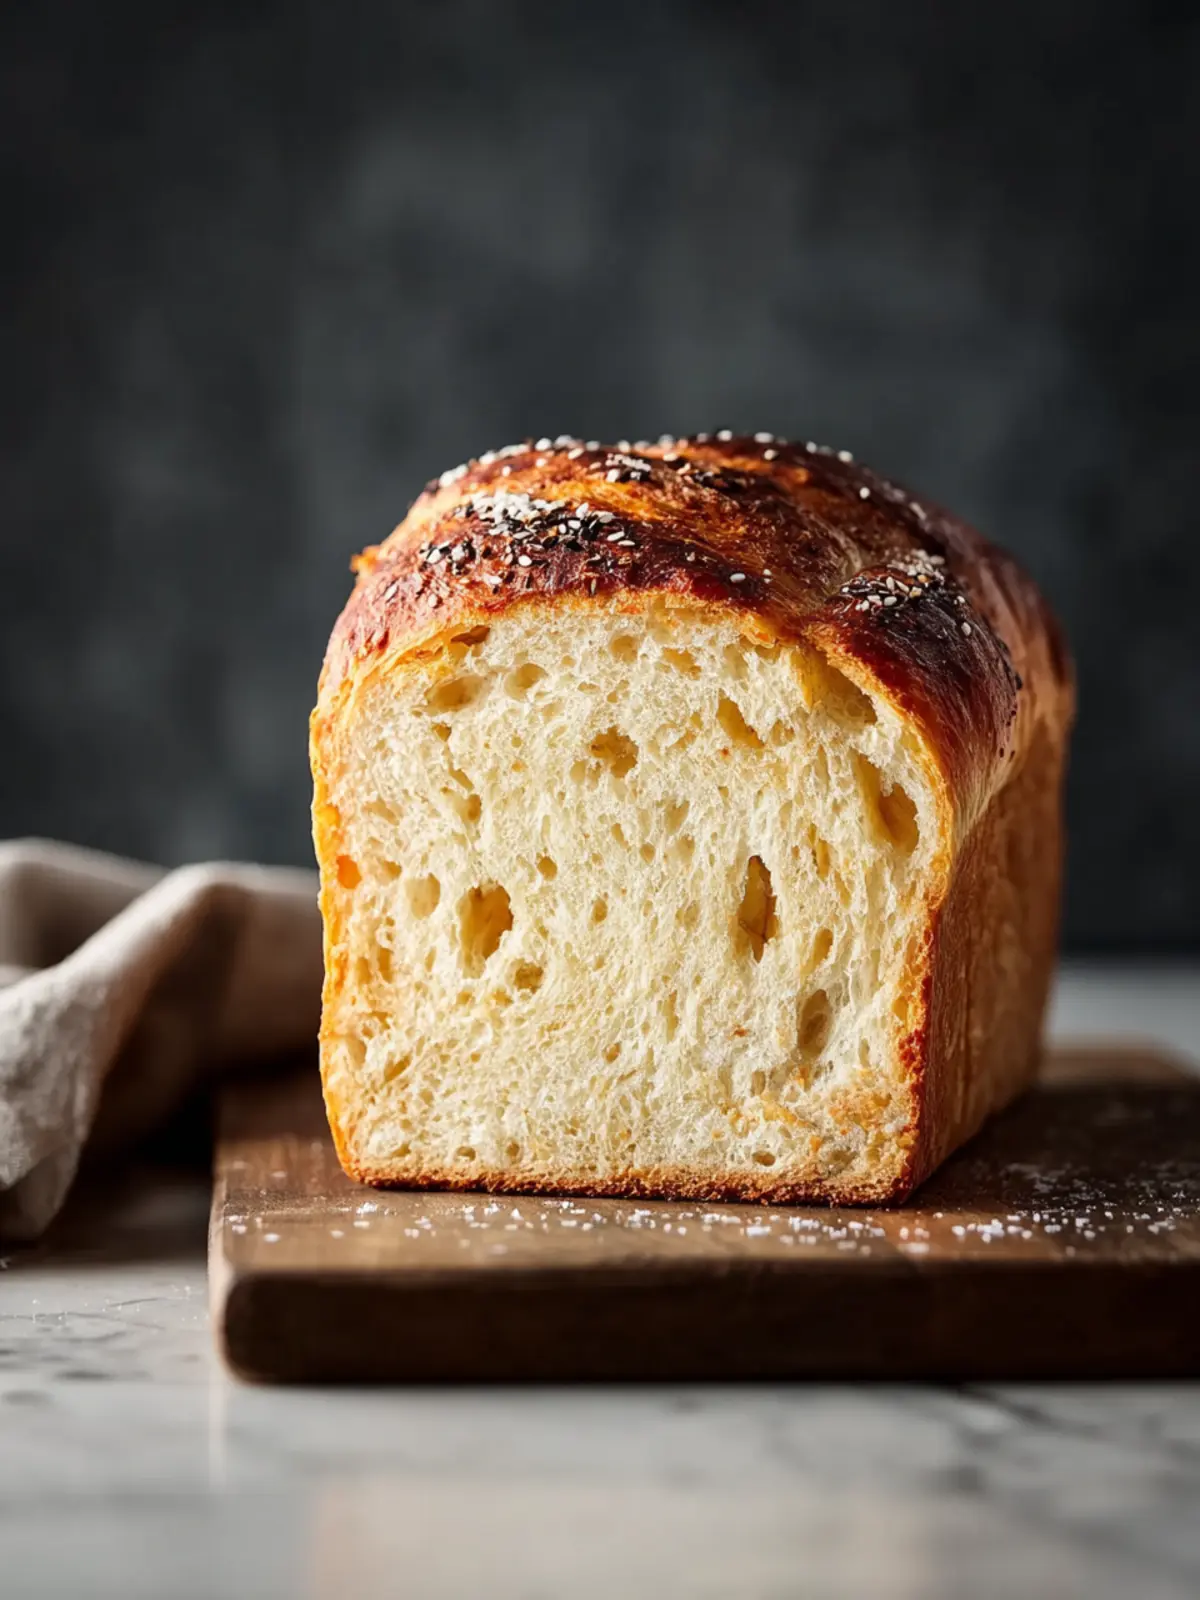
Variations on the KitchenAid Bread Recipe
The KitchenAid Bread Recipe serves as a versatile foundation for countless delicious variations. Whether you’re looking to spice things up or adapt the recipe to your taste, there are several ways to elevate your homemade bread.
Add Whole Grains for Heartiness
Incorporating whole grains not only enhances the flavor but also boosts the nutritional profile of your bread. Consider mixing in whole wheat flour for a nutty taste. A 50/50 blend of all-purpose and whole wheat flour keeps the bread light while adding those healthful benefits.
Forge Flavor with Herbs and Spices
Why not transform your loaf into a savory masterpiece? Adding dried herbs like rosemary or thyme can lend a fragrant twist. If you’re feeling adventurous, sprinkle in spices such as garlic powder or Italian seasoning for a unique flavor profile.
Get Creative with Mix-Ins
Dried fruits, nuts, or seeds can add delightful texture and flavors to your KitchenAid Bread Recipe. Try folding in chopped walnuts or pecans for crunch, or add dried cranberries or figs for a subtle sweetness.
Experiment with Different Liquid Bases
Swap out water for other flavors by using milk or even vegetable broth. This little change can make a significant impact on the overall richness and taste of the final loaf.
These simple variations can turn a classic bread recipe into something uniquely yours; the possibilities are deliciously endless!
Cooking Tips and Notes for KitchenAid Bread
Creating a delicious KitchenAid Bread Recipe is a rewarding experience that fills your home with the warm aroma of fresh-baked bread. To help you navigate this delightful journey, here are some helpful tips and notes.
Quality Ingredients Matter
- Flour: Opt for bread flour if you want a chewier texture. All-purpose flour works fine too, but bread flour has a higher protein content, which can give your bread a better rise.
- Yeast: Always check the expiration date on your yeast. Using fresh yeast is crucial for achieving that wonderful rise.
- Water: Use lukewarm water (about 110°F to 115°F) to activate the yeast effectively. If it’s too hot, you could kill the yeast.
Mind Your Mix
- Kneading: Give your dough enough kneading time. After about five to seven minutes in your KitchenAid mixer with the dough hook, it should be smooth and elastic. Don’t rush this stage; it’s where the magic happens.
- Rising Time: Allow the dough to rise until it doubles in size. This usually takes about one hour, depending on the room temperature. Warmer environments speed up this process.
Baking Essentials
- Preheating: Always preheat your oven to ensure even baking. A hot oven will give your bread a nice crust and help it rise beautifully.
- Steam: For a crisper crust, add a pan of hot water to the oven while baking. The steam helps create that desirable crust texture.
By following these simple but effective tips, you’ll turn your KitchenAid Bread Recipe into a showstopper that impresses family and friends alike! Happy baking!
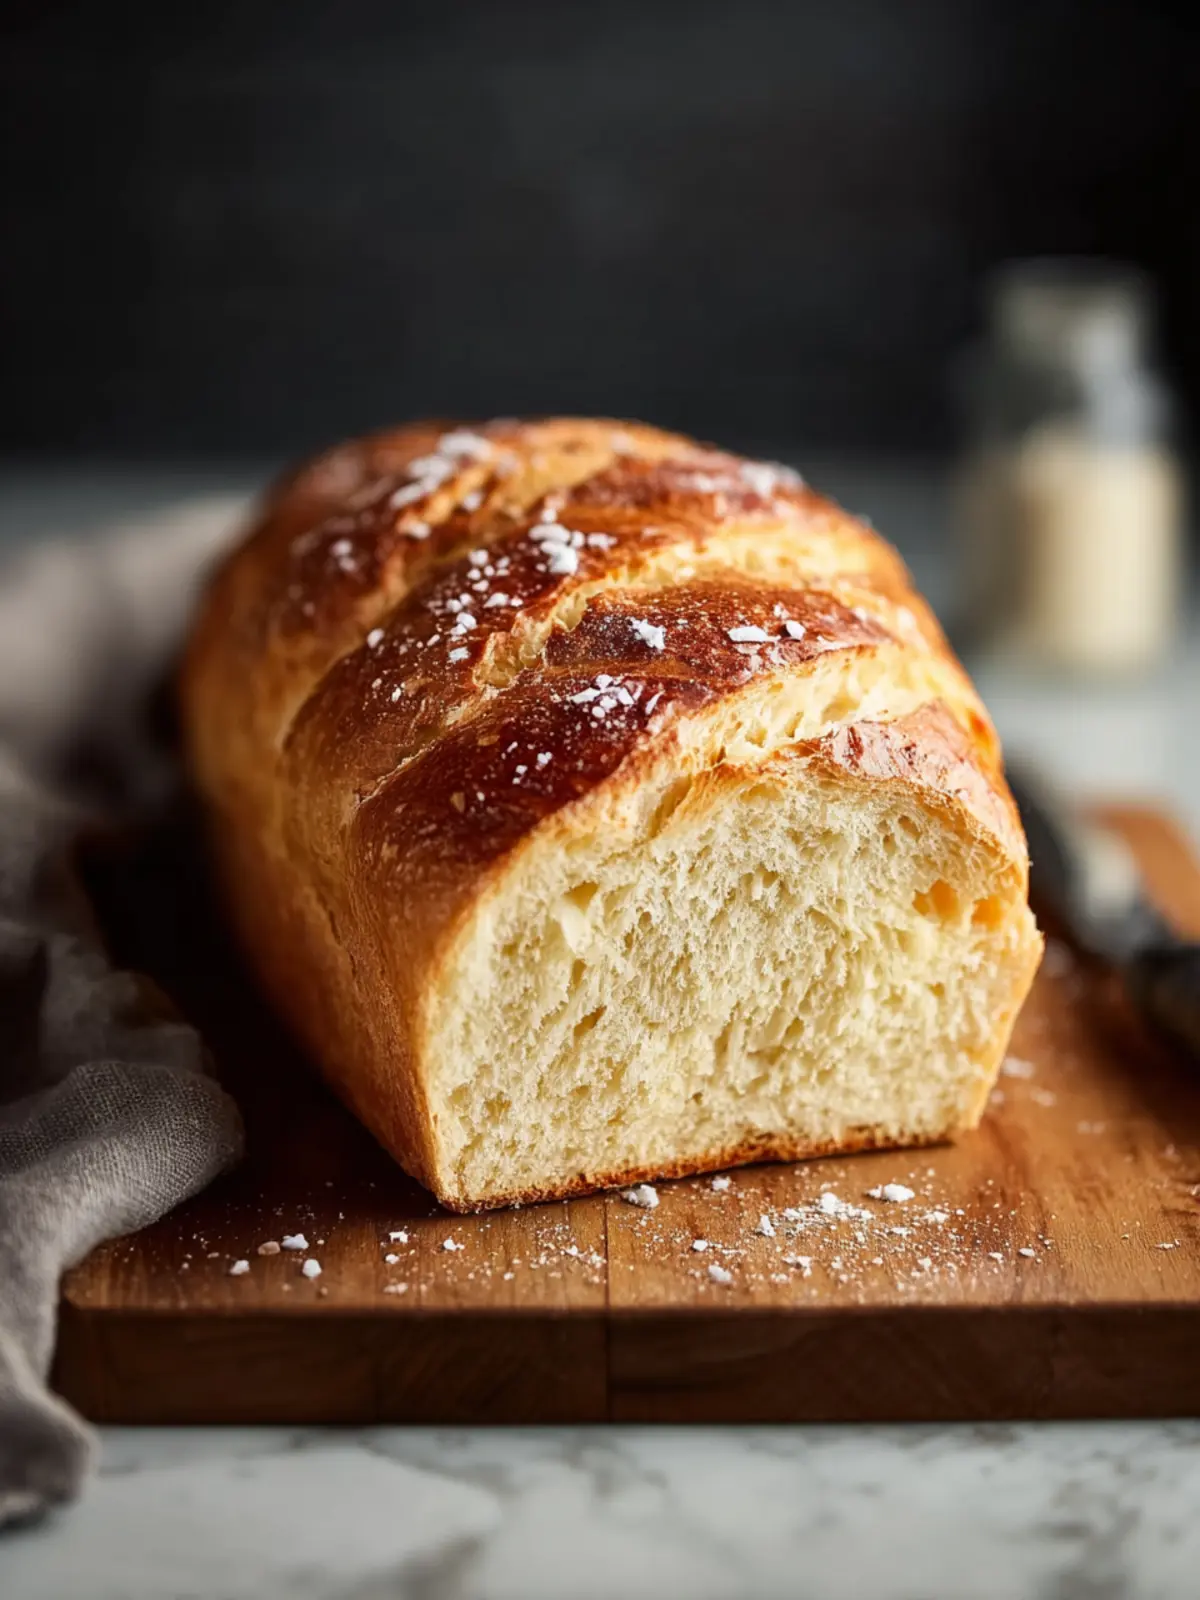
Serving Suggestions for KitchenAid Bread
If you’ve just baked a loaf of KitchenAid Bread, congratulations! The tantalizing aroma wafting through your kitchen hints at the delicious possibilities ahead. But what’s next? Here are several delightful serving suggestions that will surely elevate your bread experience.
Classic Toasts
- Avocado Toast: Spread ripe avocado on a slice of your fresh bread, sprinkle with salt, pepper, and a dash of lime juice for a healthy breakfast or lunch option.
- French Toast: Dive into a cozy morning with thick slices dipped in an egg mixture, then pan-fried until golden. Top with maple syrup and fresh berries.
Savory Pairings
- Garlic Bread: Mix softened butter with minced garlic and parsley, spread on slices of your KitchenAid Bread, and toast until golden for an irresistible side with pasta.
- Bruschetta: Top toasted slices with diced tomatoes, basil, garlic, and a drizzle of balsamic glaze for a fresh appetizer.
Sweet Treats
- Jam and Cream Cheese: Spread cream cheese on a slice and top with your favorite jam for an easy dessert that feels gourmet.
- Grilled Cheese: Enhance your comfort food game by using your freshly baked bread to make a melty grilled cheese, incorporating different cheeses for variety.
No matter the occasion, your KitchenAid Bread is a versatile foundation for endless culinary creativity!
Time Breakdown for KitchenAid Bread Recipe
Creating a delicious KitchenAid Bread Recipe is not just about the ingredients; it’s also about time management. Let’s break down the entire process so you can plan your baking effectively.
Preparation time
The prep time for this recipe is approximately 15 minutes, just enough for gathering your ingredients, measuring, and mixing them together in your KitchenAid mixer.
Rising time
Patience is key during the rising phase, which typically takes about 1 to 2 hours. This is when the dough transforms, developing that airy texture we love in homemade bread.
Baking time
Once the dough has risen, the baking time is generally around 30 to 35 minutes. Keep an eye on your bread, as you want it golden brown and fragrant.
Total time
In total, you’re looking at about 2 to 3 hours from start to finish. While that might seem like a stretch, remember that much of this time is hands-off, allowing you to relax while your bread rises and bakes to perfection.
Nutritional Facts for KitchenAid Bread Recipe
Creating your own homemade bread not only fills your home with warm aromas but also provides a wholesome nourishment that you can enjoy with family and friends. This delicious KitchenAid Bread Recipe is not just about taste; it also packs a nutritious punch that complements your healthy lifestyle. Here’s a quick look at the nutritional facts you can expect from each slice of this homemade delight.
Calories
Each slice of this KitchenAid Bread Recipe contains approximately 120 calories. It’s an excellent choice for breakfast or as a snack without the guilt.
Carbohydrates
You’ll find around 22 grams of carbohydrates per slice, making it a great source of energy for your day. The blend of ingredients ensures a balanced carbohydrate intake.
Protein
With about 4 grams of protein in each slice, this bread helps contribute to your daily protein needs, making it a wonderful addition to sandwiches or served with soup.
Fats
Each slice has roughly 2 grams of fats. This recipe uses healthy fats, ensuring that you can enjoy your bread while staying health-conscious.
FAQs about KitchenAid Bread Recipe
Bread-making can feel daunting, but with a KitchenAid Bread Recipe, you’re already on a delicious path. However, questions often pop up as you knead and rise. Here are some common concerns to help you navigate your baking journey smoothly!
Can I use instant yeast instead of active dry yeast?
Absolutely! Using instant yeast in your KitchenAid Bread Recipe is a great option. It can be mixed directly into your dry ingredients without needing to proof in water first. Just keep in mind that instant yeast tends to ferment a bit quicker, so be attentive to your dough’s rise time. You may want to slightly adjust the resting period in your recipe for the best results.
What should I do if my dough doesn’t rise?
If your dough isn’t rising, don’t panic! This can happen for a few reasons, such as using old yeast or not allowing the dough to stay warm enough. Here are a few tips to troubleshoot:
- Check your yeast: Ensure it hasn’t expired. If you’re unsure, you can proof it: mix it with warm water and a bit of sugar to see if it bubbles.
- Adjust the environment: Try placing your bowl in a warm spot, like on top of the toaster or near a sunny window.
- Give it time: Sometimes, dough just needs a little extra patience.
How can I store the bread to keep it fresh?
To enjoy your fresh bread for longer, follow these storage tips:
- Cool completely: Let your bread cool on a rack before storing to avoid sogginess.
- Store in a bread box: This allows air circulation while keeping moisture in check.
- Freeze for extended storage: If you have leftovers, wrap the bread tightly in plastic wrap and aluminum foil, then freeze. It can last for up to three months!
By addressing these common questions, you can feel more confident in your KitchenAid Bread Recipe adventure, creating a warm loaf that will surely impress friends and family alike!
Conclusion on KitchenAid Bread Recipe
Crafting your own bread can be a truly rewarding experience, and the KitchenAid Bread Recipe makes it achievable even for novice bakers. The simplicity of mixing and kneading with a stand mixer takes away the guesswork, allowing you to focus on perfecting your loaves.
Not only do you get to enjoy the wonderful aroma of freshly baked bread filling your kitchen, but you also create a flavorful product that brings people together. Whether you’re slathering it with butter or using it for sandwiches, your homemade bread will undoubtedly elevate your meals. So roll up your sleeves, and dive into this delightful baking adventure!
Print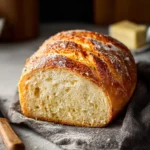
Homemade Bread
- Total Time: 1 hour 50 minutes
- Yield: 2 loaves 1x
- Diet: Vegetarian
Description
This homemade bread recipe yields a delicious soft loaf that is perfect for sandwiches or toast.
Ingredients
Scale
- ½ Cup Milk
- 1½ Cup warm water
- 2 Tbsp Salt
- 3 Tbsp Sugar
- 3 Tbsp Butter
- 5 Cups all purpose flour
- 2 packets of active dry yeast
Instructions
- In a small saucepan, combine milk, sugar, salt, and butter. Heat gently, stirring until the butter melts and the sugar dissolves.
- If using active dry yeast, dissolve it in warm water in a pre-warmed mixer bowl and let it sit for 10 minutes.
- Add the lukewarm milk mixture and the yeast mixture to 4 ½ cups of flour.
- Using the dough hook attachment, mix on speed 2 for one minute.
- Continue mixing on speed 2, gradually adding the remaining flour (½ cup at a time), until the dough clings to the hook and the bowl sides are clean.
- Knead for an additional 4 minutes on speed 2 until the dough is smooth and elastic.
- Place the dough in a greased bowl, turning it to coat the top.
- Cover and let rise in a warm, draft-free space until it doubles in size (about an hour).
- Punch the dough down and divide it into two portions.
- Shape each into a loaf and place them in greased 8 ½ x 4 ½ x 2 ½ loaf pans.
- Cover and let rise again until doubled, for about an hour.
- Bake at 400°F for 30 minutes, then remove the loaves from the pans and cool on wire racks.
Notes
- This bread is best enjoyed fresh but can be stored in an airtight container for up to 3 days.
- Prep Time: 20 minutes
- Cook Time: 30 minutes
- Category: Baking
- Method: Baking
- Cuisine: American
Nutrition
- Serving Size: 1 slice
- Calories: 120
- Sugar: 1g
- Sodium: 200mg
- Fat: 2g
- Saturated Fat: 1g
- Unsaturated Fat: 1g
- Trans Fat: 0g
- Carbohydrates: 24g
- Fiber: 1g
- Protein: 4g
- Cholesterol: 5mg